top of page

10 Tips to Choose the Best Stained Glass Window Kit

Choosing the right Stained Glass Window Kit can shape your entire crafting experience. A thoughtfully selected kit should match your skill level, workspace, tools, and creative goals. Beginners often focus on colorful glass and attractive patterns. However, the less visible details matter more. Solder quality, copper foil width, cutting tools, and clear instructions can determine whether a project feels manageable or frustrating.

This guide presents ten practical tips for comparing kits with greater confidence. It considers material quality, pattern complexity, safety equipment, replacement parts, and supplier reliability. Manufacturer specifications should always be checked carefully. A professional-looking package does not guarantee complete contents. I have learned that missing flux or unsuitable glass can delay a project immediately. Small omissions matter.

Your workspace also deserves attention. A sturdy table, bright lighting, ventilation, and protective eyewear support safer, cleaner work. Consider whether the kit includes lead-free options, especially for decorative pieces handled frequently. Reviews can reveal useful details, but they may reflect different expectations and skill levels. Read them critically. Even experienced makers sometimes choose a kit that is too ambitious. That mistake can teach you something, although it may waste time and materials. The best choice balances inspiration with realistic preparation. By examining each feature carefully, you can select a kit that supports steady progress and produces a window design you will genuinely enjoy making.
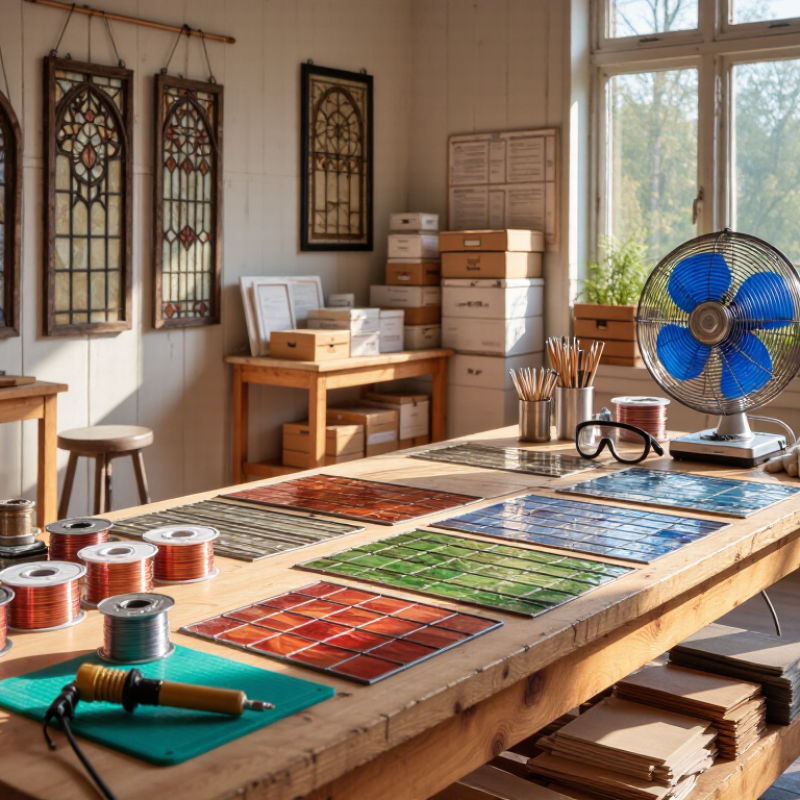
10 Tips to Choose the Best Stained Glass Window Kit

Define Project Scope: Panel Size, Pattern Complexity, and 3–6 mm Glass

Define the project before choosing a stained glass window kit. Measure the finished panel, not only the opening. A 30 cm panel needs less cutting space than a 90 cm installation. Larger panels also require stronger framing and safer handling. The U.S. Department of Energy reports that windows can contribute about 25%–30% of residential heating and cooling energy use. This matters when placing stained glass near an exterior window. A decorative insert may need an air gap or secondary glazing.

Pattern complexity changes the entire workload. Simple geometric designs use fewer cuts and tolerate small errors. Curved borders, tiny pieces, and repeated angles demand accurate templates. Count the pieces before purchasing tools. Then estimate cutting, grinding, foiling, and soldering time. My practical mistake was trusting a beautiful pattern without checking its smallest pieces. They were exhausting to grind.

Glass thickness usually falls between 3 and 6 mm for craft panels. Confirm the kit’s instructions and the frame’s channel width. The National Glass Association identifies thickness, edge quality, and intended application as important flat-glass selection factors. Thicker glass can feel stronger, but it also increases weight and may complicate cutting. Do not assume thicker means better. For panels exposed to movement, vibration, or weather, consult a qualified glazier and check applicable safety standards. Measure twice. Cut once. Occasionally, rethink the design.

Define Project Scope: Panel Size, Pattern Complexity, and 3–6 mm Glass

This illustrative planning chart shows how panel size and pattern complexity can increase the estimated number of glass pieces. Glass thickness should be selected within the common 3–6 mm range according to panel support, handling requirements, and local safety guidance.

Planning example: estimated piece counts are based on typical cutting layouts for panels of different sizes and are intended for early project scoping, not structural or safety specifications.

Verify Glass Compatibility: COE 90 and 96 Rules for Fusing Projects

When choosing a stained glass window kit for fusing, verify the glass expansion number before buying. COE 90 glass expands about 90 × 10⁻⁷ per °C, while COE 96 glass expands about 96 × 10⁻⁷ per °C. That difference looks small, but it can create stress during cooling. Never assume similar colors are compatible. They may come from different glass systems.

Professional testing supports this caution. ASTM C598 measures a glass’s annealing point, while ASTM C336 evaluates annealing and strain behavior through beam-bending tests. These standards show why COE alone cannot guarantee a successful fuse. Compatibility also depends on viscosity, thickness, firing temperature, and cooling speed. A suitable kit should include clear compatibility information and a kiln with controlled annealing. Avoid mixing COE 90 and COE 96 pieces in one project unless the manufacturer provides verified test results.

I once treated COE numbers as interchangeable. That was a costly mistake. A small test tile is wiser: fuse two scraps, then inspect the join under polarized light after cooling. Look for dark lines, cracks, or delayed separation. Keep a firing log with glass type, thickness, peak temperature, and annealing time. The Glass Art Society’s technical education materials also emphasize controlled testing and careful kiln records. Some projects still fail, even with good notes. That uncertainty deserves respect.

Select Foil and Solder: Compare 3/16–7/32 in Foil and 60/40 Solder

Choosing foil and solder carefully often determines whether a stained glass panel feels stable or merely looks attractive. Standard 3/16-inch foil measures about 4.76 mm wide, while 7/32-inch foil measures about 5.56 mm. The narrower option suits delicate pieces and slim lead lines. The wider option gives more copper contact on thick or uneven glass. A simple test helps: wrap a scrap piece, fold the edges evenly, and inspect the overlap before cutting valuable glass.

Solder choice matters just as much. ASTM B32 identifies tin-lead solder by alloy composition, while IPC J-STD-006 lists Sn60Pb40, or 60/40 solder, as a non-eutectic alloy melting across roughly 183–190°C. That range explains its slower, slightly more fluid working behavior. Use a temperature-controlled iron and heat the joint only until the solder flows. Too much heat can loosen foil adhesive or stress the glass. Keep airflow moving, wash hands thoroughly, and follow local rules for lead-containing waste. A lead-free alloy may be appropriate for some projects, but it often needs different heat control and behaves less forgivingly. I would not assume one foil width works everywhere. Sometimes the “better” choice looks excessive until a corner begins separating.

Check Safety Standards: ANSI Z87.1 Eyewear and OSHA Lead Limits

When choosing a stained glass window kit, treat eye protection as essential equipment, not an accessory. Select eyewear marked ANSI/ISEA Z87.1, the current impact-resistance standard for occupational and educational settings. The marking confirms tested protection against flying particles, although it does not guarantee complete coverage. Wraparound lenses or side shields are practical choices near cutting tools.

Lead solder creates a more serious concern. OSHA’s construction standard sets an eight-hour permissible exposure limit at 50 micrograms of lead per cubic meter of air. Its action level is 30 micrograms per cubic meter, averaged over eight hours. These limits apply to covered workplaces, but home users should still follow the same discipline. Use local ventilation, wash hands before eating, and keep soldering surfaces away from food areas. The National Institute for Occupational Safety and Health also recommends controlling lead at its source rather than depending only on personal protective equipment.

Read the kit instructions carefully. A lead-free option may reduce lead exposure, but it still requires heat control, ventilation, and careful handling. Choose a work area with a washable bench, closed containers, and a dedicated apron. Keep children and pets outside the workspace. In practice, I have found that safety glasses fog when ventilation is poor, which is easy to overlook. That is a design problem, not a minor inconvenience. Check the fit before buying. A kit with attractive patterns is not the best choice if its tools encourage rushed cutting or poorly controlled soldering.

10 Tips to Choose the Best Stained Glass Window Kit — Check Safety Standards: ANSI Z87.1 Eyewear and OSHA Lead Limits

Tip What to Check Practical Benchmark or Safety Requirement Why It Matters
1 Confirm the project scope Choose a kit that clearly states the finished dimensions, glass pieces, pattern, and required tools. A complete, accurately sized kit reduces cutting errors, material waste, and unsafe improvisation.
2 Match the kit to your skill level Beginners should consider fewer pieces, simple outlines, and clearly illustrated instructions. Simpler layouts make glass scoring, foiling, and soldering easier to control.
3 Verify the glass specifications Look for stated glass type, approximate thickness, color assortment, and whether replacement pieces are available. Known material specifications improve compatibility with the pattern and framing method.
4 Use compliant eye protection Select impact-rated eyewear marked ANSI Z87; use Z87+ when high-impact protection is appropriate. The marking should be on the lens or frame. Eye protection helps guard against glass chips, fragments, and other projectiles during cutting and grinding.
5 Check lead content in solder and came The kit should disclose whether solder or metal came contains lead. Treat lead-containing materials as hazardous and follow the product Safety Data Sheet. Lead can enter the body through inhalation of fumes or dust and through hand-to-mouth contact.
6 Understand OSHA lead limits For covered general-industry or construction work, OSHA’s lead permissible exposure limit is 50 µg/m³ as an 8-hour time-weighted average; the action level is 30 µg/m³ as an 8-hour TWA. These are workplace exposure limits, not a guarantee that a home hobby area is automatically safe. Local rules may be stricter.
7 Evaluate ventilation provisions Use soldering instructions that call for adequate local exhaust or effective ventilation and keep the work area away from food preparation. Ventilation helps control airborne soldering fumes; ordinary room circulation alone may not provide local capture.
8 Check tool quality and electrical safety Inspect the soldering iron, cord, plug, stand, temperature control, and heat-resistant work surface before use. Stable supports and undamaged electrical equipment reduce burn, fire, and shock hazards.
9 Review cleanup and hygiene instructions Choose guidance that requires handwashing after work, wet cleaning or HEPA-equipped methods for dust, and no eating or drinking in the work area. Good hygiene reduces the chance of transferring lead or glass dust to the mouth, food, and household surfaces.
10 Assess mounting strength and intended use Check whether the finished panel is decorative or suitable for an opening, and follow stated hanging, support, and edge-protection requirements. A stained-glass panel may need additional reinforcement before installation in a window or location subject to movement.

Safety note: ANSI Z87.1 markings identify performance requirements for eye and face protection; they do not certify the entire stained-glass kit. OSHA lead limits apply to regulated workplace exposures, while hobbyists should also follow applicable local requirements and the product Safety Data Sheet.

Assess Kit Completeness: Tools, Consumables, Instructions, and Warranty

When choosing a stained glass window kit, I check the complete contents before comparing prices. A useful kit should include cutting tools, grozing pliers, foil, flux, solder, and suitable safety equipment. Missing one small item can stop a project halfway. It happened to me.

Consumables deserve careful attention. Check the foil width, solder amount, and flux type. A small roll may suit one panel but fail on a larger design. Look for clearly labeled materials and sealed containers. Gloves and protective eyewear should fit comfortably, not merely appear in the box. Do not assume every listed tool is ready to use. Some cutters need oil, and some irons need a separate stand. Those details matter.

Instructions reveal the maker’s professionalism. Clear diagrams should explain cutting, foiling, soldering, ventilation, and cleanup in practical steps. Vague wording creates mistakes, especially for beginners. I prefer instructions with a materials checklist and realistic project dimensions. A warranty also deserves attention. Read its duration, exclusions, replacement process, and proof-of-purchase requirements. A long warranty means little if damaged tools are excluded. Customer support should answer specific questions without making unrealistic promises. One weakness remains common: kits may provide excellent tools but overly basic guidance. I would rather see fewer accessories and better instructions. Reliability is found in the details.

Concrete Products Unlimited

Mon-Fri 8AM - 5PM

Concrete products, wholesale Arizona river rock for landscaping, decorative rock, sand and gravel. Rock quarry located in Arizona and delivers throughout the USA.

©2003 by Concrete Products Unlimited

bottom of page